Green Beans with Walnut Miso

One way to change from slumber to wide awake is stepping barefoot on a Lego brick. I assume an experience that all parents somehow share. Sooner or later they will get you – or your foot. These days at our home those evil Lego bricks collude with walnut shells. Lucky me! While still deciding which one hurts more, my patience not to curse full-throated through our home gets tested almost every day.

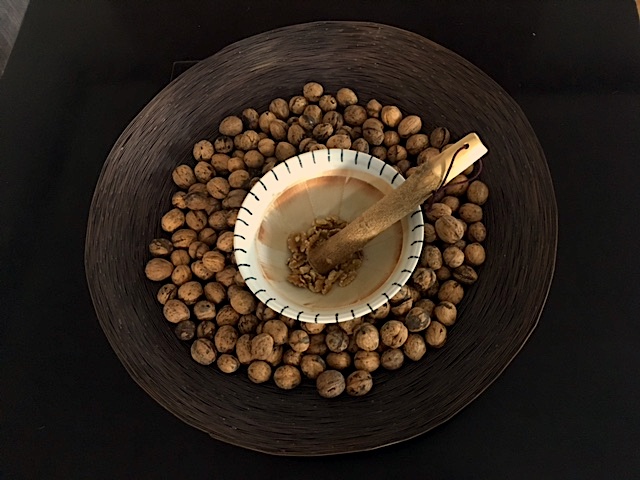
What is left from our big pile of walnuts

On our family vacation we collected this huge bag walnuts from the garden and I never expected them to be that popular among my girls. Even more so I was surprised about their speed in using the nutcracker, which kind of explains the shells all over our living room. But those nuts are magic. They turn tired, cranky and hungry little monsters that come home fighting after a long day of school and kindergarten into a cheerful little gang collaborating in cracking and eating those nuts.

Who am I to change this dynamic, although I actually planed a different use for the walnuts: I wanted to make a batch of walnut miso sauce, which is one of my favorite addition to blanched green beans (and always good to have in your fridge for when you are running out of time). But its use is far from being limited to that. I can think of many vegetables that would benefit from being topped with walnut miso sauce and I even like it a s a dip. So before they are all gone, I grabbed a few handful for tonights dinner.

Recipe for Green beans in Walnut Miso sauce

Serves 6

  • 300g green beans
  • 150ml (Kombu) dashi
  • Splash of soy sauce and mirin
  • Splash of mirin (sweet sake)
  • 80 g shelled walnut
  • A heaped 1  Tbsp.  white, sweet miso
  • 2 tsp. mirin
  • a splash or more  of (kombu) dashi

Method

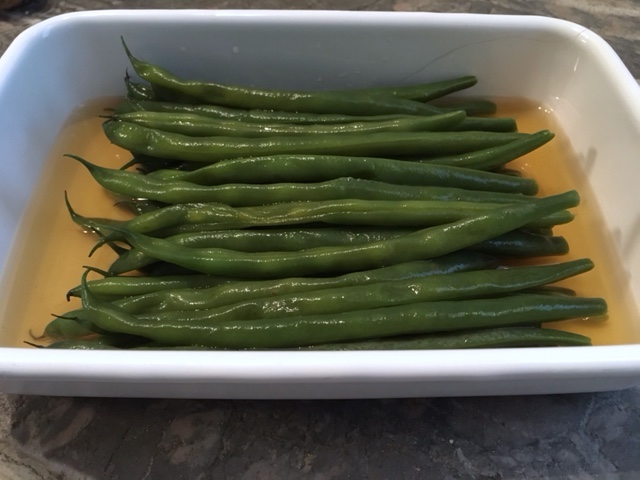
Pour 150 ml (kombu) dashi in a wide container and season it with a splash of soy sauce and mirin .

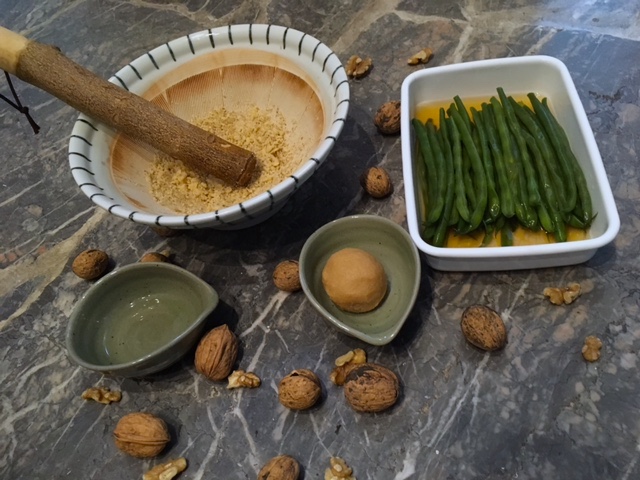
Green beans waiting in dashi to be plated

Bring a fairly large pot with water to a rolling boil and blanch the beans until they are tender but still firm (about five minutes after the water has returned to a boil). Drain and DO NOT refresh them in cold water, but put them in the seasoned dashi instead.

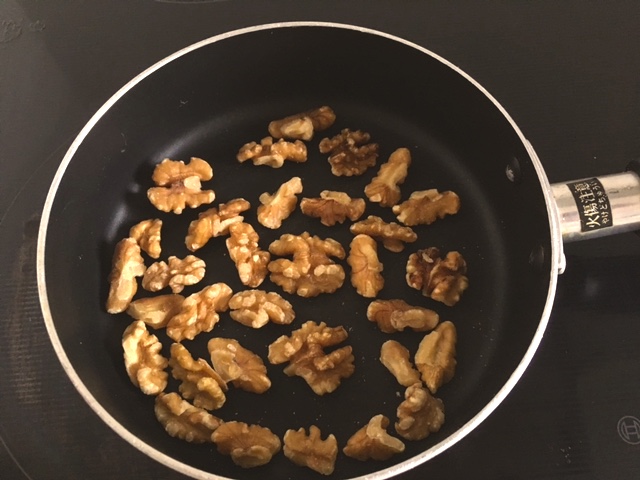
Dry-roasting walnuts

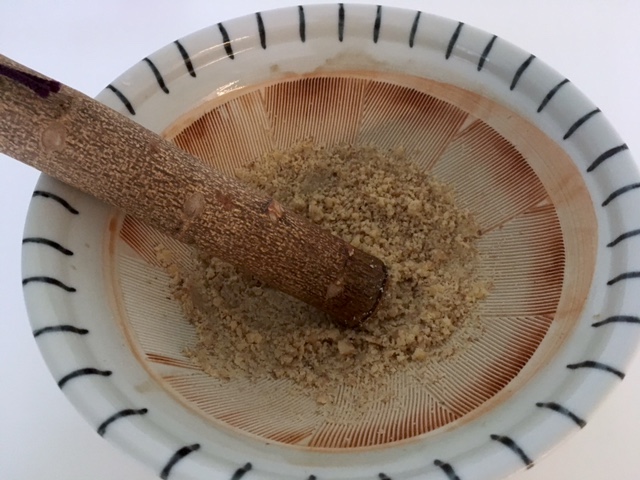
Dry roast the walnuts in a pan over medium heat. Use a suribachi (Japanese mortar) to grind the nuts until they form a paste. If you don’t have a suribachi use a western style mortar and pestle instead. Mix the walnuts with the miso and the mirin and thin it out with (kombu) dashi to your preferred consistency. You may do this in a separate bowl or in the suribachi to avoid any loss.

Crushed walnuts

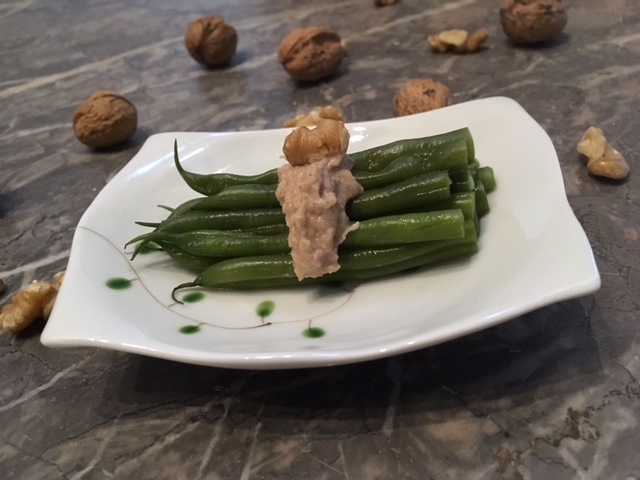
Take the green beans from the dashi, cut them to your preferred length (depending on your serving style) and arrange them with the walnut miso sauce. You can either coat them by mixing it with the sauce in the suribachi (and use the suribachi as a serving bowl) or serve the green beans on a plate and arrange the sauce on top.

Final Dish: Green beans with walnut miso sauce on top

Tip: You can prepare a lager amount of walnut miso sauce and keep it in the fridge for later use. In this case omit the dashi until you are ready to use it.
Storing Water Kefir Crystals

So we are definitely hooked. Hooked on water kefir. A couple of days ago I bottled quite an amount to take on a family vacation trip, but it was gone within three days. Back home the first thing I did was starting a new batch. Four new batches to be precise. Being relatively new to water kefir I want to really understand it and as such I experimented with the way to store water kefir. Whether you are absent for a couple of days or want to have a break for a bit longer, it is good to know what works and how it will influence the end product.

How to store water kefir (for a long time)

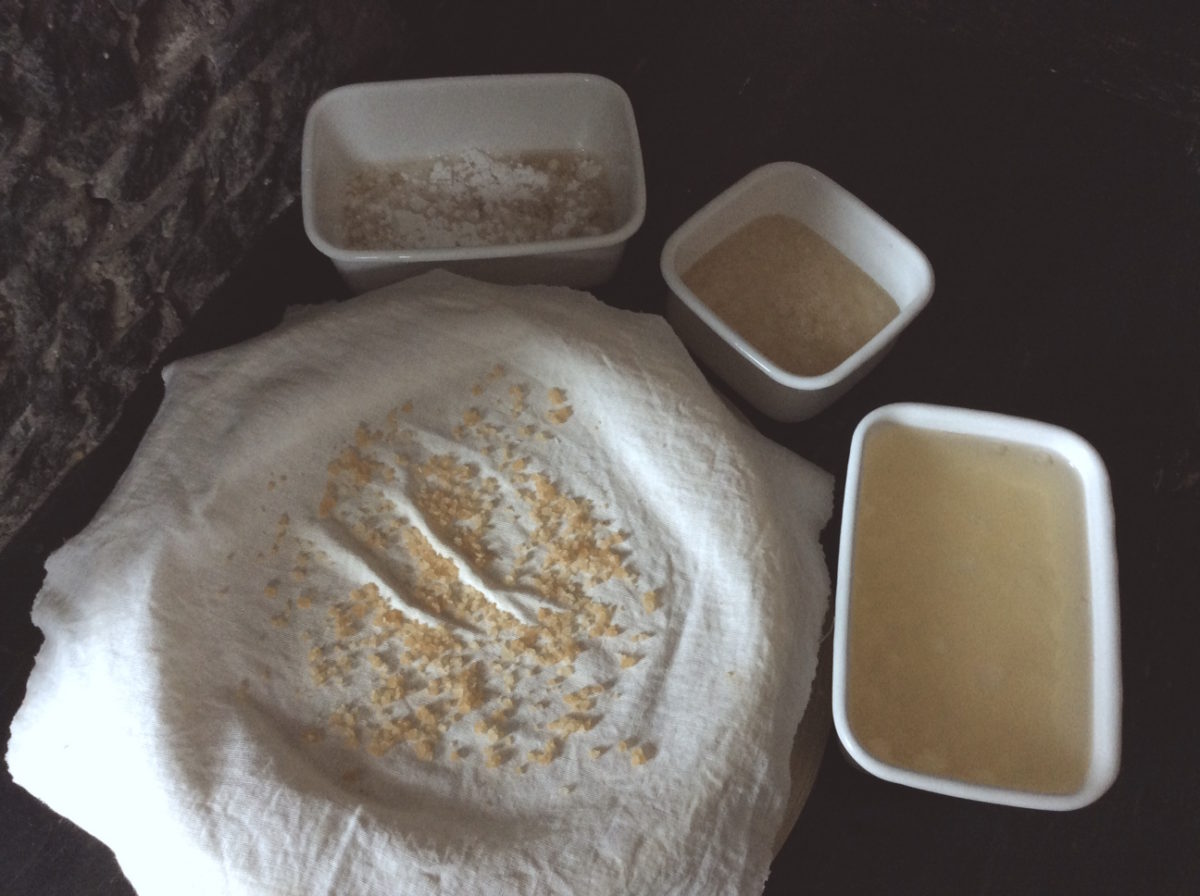
So before we went on vacation, I made 50g-portions of the water kefir crystals and stored them in four different ways:

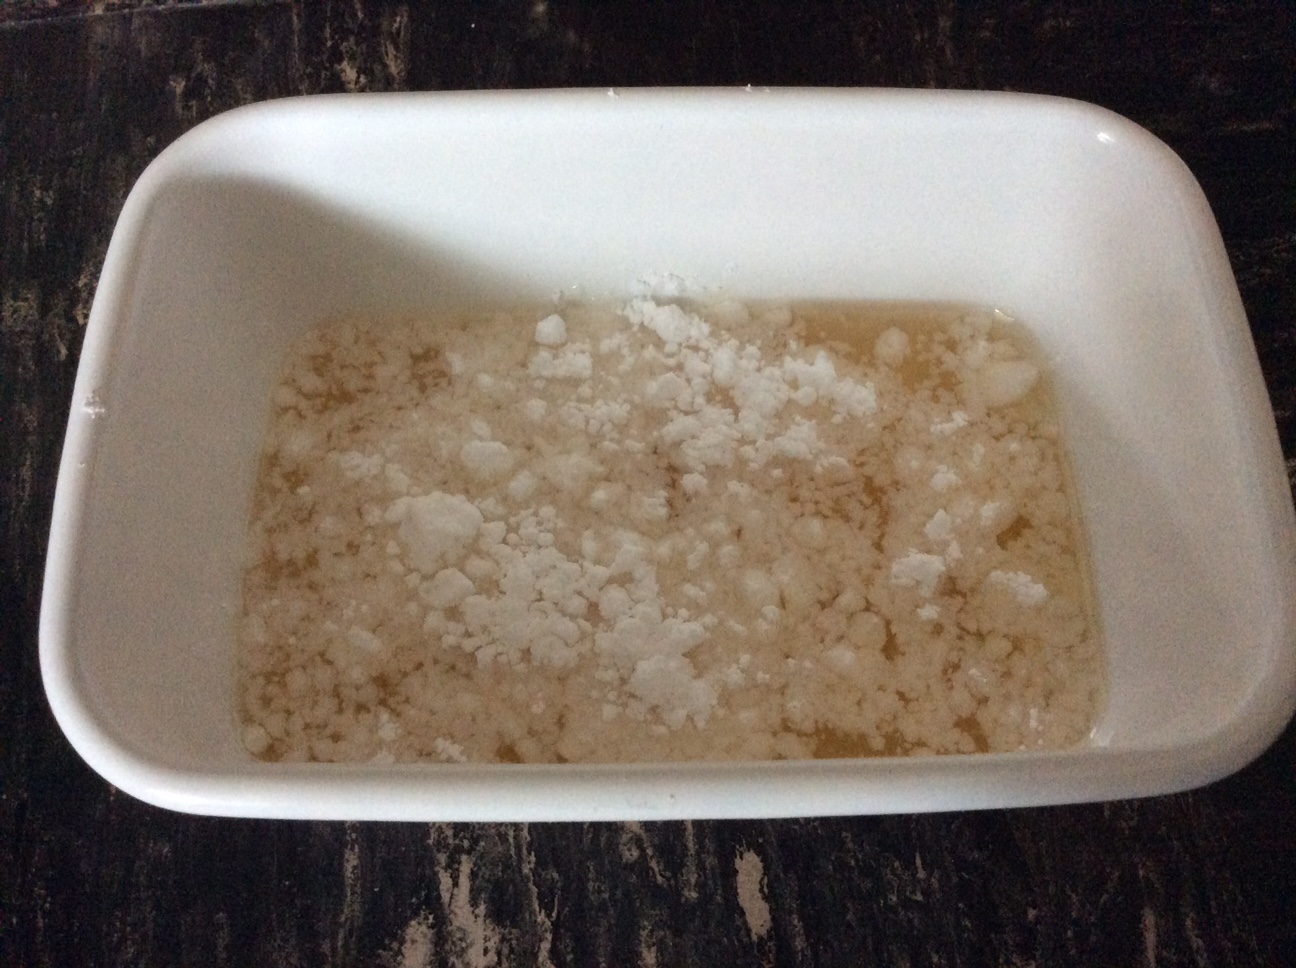
Waterkefir crystals covered with icing sugar. The sugar will melt and form a syrupy brownish liquid
  1. Fridge:
    Water kefir crystals floating in 10% sugar water in the fridge (in a loosely lidded non-reactive container),
  2. Fridge:
    Water kefir crystals covered with icing sugar (in a loosely lidded non-reactive container),
  3. Freezer:
    Freezing water kefir crystals, barely covered in 10% sugar water and
  4. Dryed:
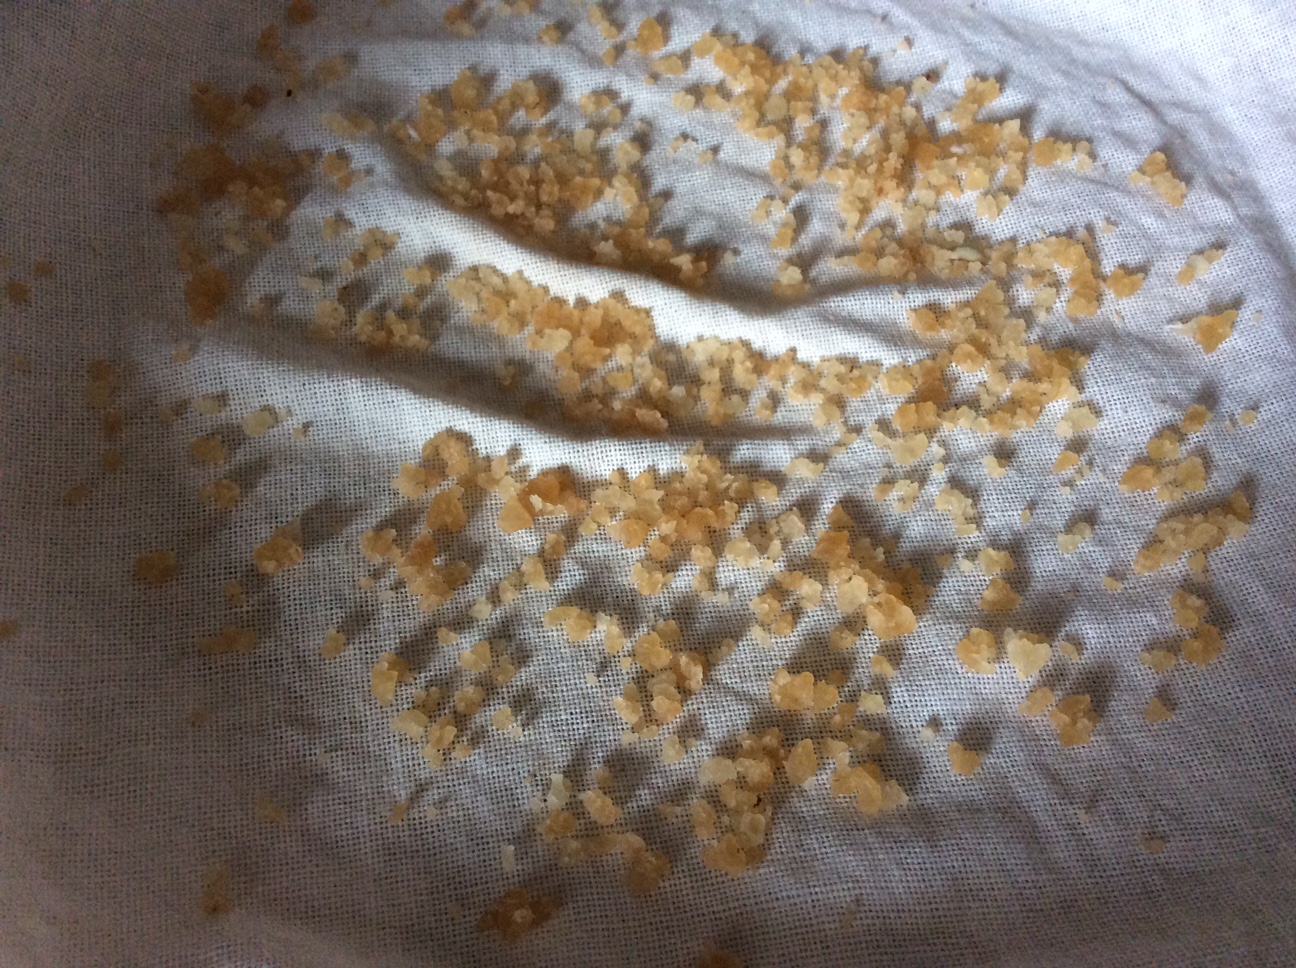
    Water kefir crystals laid out to dry on a of clean piece of cotton, stored well aerated at room temperature
Dried water kefir crystals shrink about 80% and chance from translucent to brown

How to Reconstitute water kefir

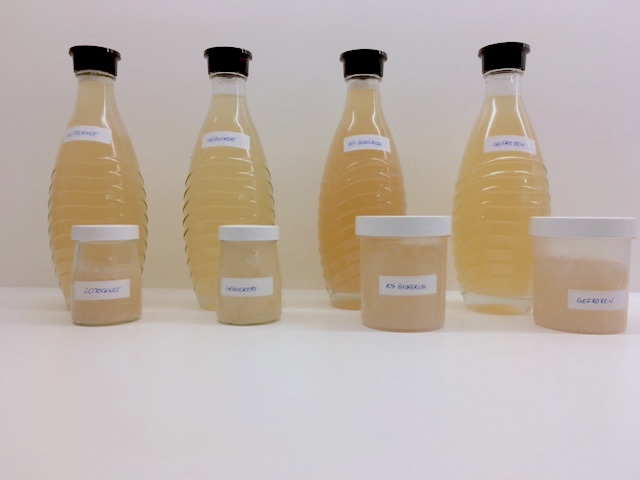
A couple of days ago I slowly defrosted my frozen water kefir crystals and prepared four identical jars to reconstitute the water kefir, hoping for yummy lemonade at the end. Each jar contains:

  1. One liter water
  2. 80g caster sugar
  3. two dried prunes
  4. one dried fig
  5. two slices organic lemon (with the peel)

After the first 12 hours all but the pre-frozen water kefir crystals showed -although significantly restrained -definite signs of fermenting activity: carbon dioxide is rising and the crystals seem to grow and split which is normal behavior during the fermentation. After 24 hours all four jars were happily fermenting and I could test the taste of their products after 48 hours:

After 48 hours all four jars were on their way.

10%Sugar Water Sugared Dried Frozen
Sweet/Sour Very sour Very sweet sweet pleasant
Bitter very bitter medium bitter medium
CO2 Very low low medium medium
Amount of crystals 119g 80g 44g 126g

Outcome

Resulting water kefir after storage. Difference in taste and color

Type and  Time of Storage

All four ways of preserving water kefir crystals were successful, in the way that all of the crystals survived and could be re-activated for further fermentation. I assume that storing water kefir crystals for a long time in sugar water in the fridge might be problematic. Even though the temperature reduces the activity, is still happens and as such at some point of time the yeast will rund out of food. So i would opt for drying or freezing the crystals if the storage is intended to last for several weeks or a couple of months.

Taste and Reconstitution

In favor of comparison I used 50g water kefir crystals for each way of storing. In the end my little experiment showed that the different ways of preserving the crystals have an impact on their return to a normal activity level:

  • Using the sugar water method has practically no impact on the activity. That is the reason why the lemonade turned out too sour and almost without CO2. The 50g that I put to storage were too much for the 1l sugar water I used for reconstitution.
  • The crystals that were sored in icing sugar took a little while to get back to normal fermentation mode and as a result the residual sugar in the lemonade was unpleasantly high. Given that the possible storage time is about the same as using sugar water I do not see an advantage using this method.
  • The dried water crystals didn’t propagate well compared to the initial amount. But given that the 50g reduced to 10 after being dried, the 44g are not too bad. A reduced fermentation activity seems logic with this drastic way of preservation and the result was satisfactory.
  • Freezing water crystals works well. Initially I thought that -18 C will ultimately kill the bacteria, but due to their very slow fermentation in the beginning the 50g/1l-water ratio resulted in a very good lemonade.

Summary

As a result all water kefir crystals have survived, but only the frozen ones produced a pleasant lemonade right afterwards, whereas the first batch of the other three methods had a difficult taste. The second batches however, with the right amounts (see recipe here), were indistinguishable.

  • Water kefir crystals can easily be stored long- and short term
  • The more drastic the method (freezing/drying vs. sugar water) the slower the re-entry into fermentation mode
  • The first lemonade will most likely not have a pleasant taste, but all methods have a normal taste after that.